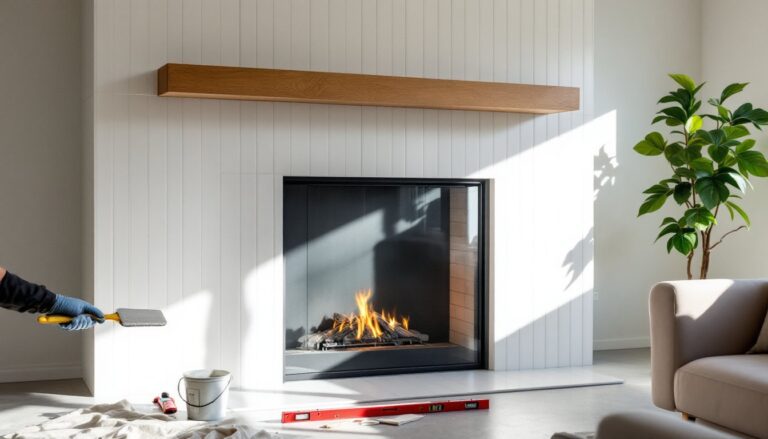
Not every fireplace earns its keep. Maybe the firebox is cracked, the chimney’s unsealed, or you simply don’t want the maintenance hassle. Some homeowners inherit non-functional gas inserts: others face drafty masonry monsters that bleed heat faster than they generate it. Whatever the reason, an unused fireplace doesn’t have to sit there collecting dust and dominating your wall. Covering it up, temporarily or permanently, can reclaim square footage, improve aesthetics, and even boost energy efficiency. This guide walks through practical cover-up solutions, from quick decorative fixes to full structural transformations.
Table of Contents
ToggleKey Takeaways
- Fireplace cover-up ideas range from temporary decorative screens to permanent transformations like built-in shelving, allowing you to reclaim space and improve energy efficiency regardless of your fireplace’s condition.
- Non-functional fireplaces waste energy by losing 10–30% of heated and cooled air through open dampers and unsealed flues, making a fireplace cover-up both a practical and cost-effective solution.
- Before starting any fireplace cover-up project, check local codes to ensure compliance with chimney cap requirements and professional obligations for sealing gas lines or permanent decommissioning.
- Quick DIY fireplace covers using MDF panels, fabric wraps, or magnetic inserts offer budget-friendly options that can be removed without residue, perfect for renters or those testing designs before committing.
- Permanent solutions like full wall infill, tile overlays, shiplap cladding, or built-in shelving add real estate value and functionality while updating outdated fireplace aesthetics.
- Seasonal and decorative fireplace styling—rotating decor quarterly with potted plants, LED candles, art displays, or holiday arrangements—keeps an unused fireplace visually interesting without permanent modifications.
Why Cover Up a Fireplace?
Fireplaces lose their appeal for a handful of practical reasons. Non-functional units, whether due to cracked fireboxes, missing dampers, or condemned chimneys, can’t be used safely. Repairing them often costs thousands, especially if relining a chimney or rebuilding masonry is involved.
Energy waste is another driver. Open dampers and unsealed flues create constant drafts, pulling conditioned air out of the home year-round. Even closed dampers rarely seal perfectly. The Department of Energy estimates that homes lose 10-30% of heating and cooling through air leaks, and chimneys are a prime culprit.
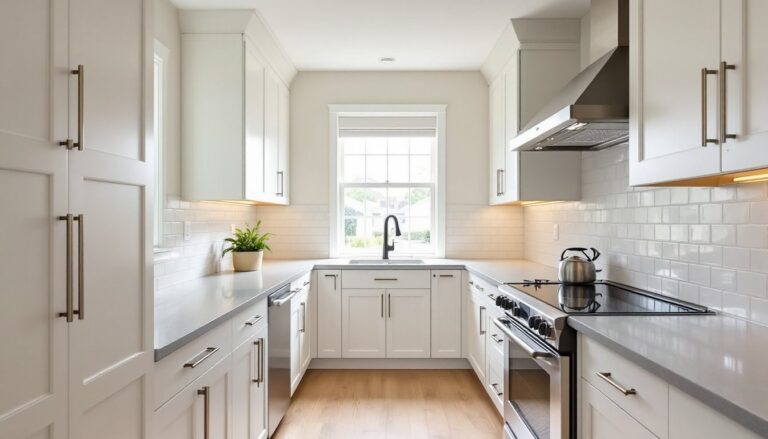
Space optimization matters in smaller homes. A protruding hearth and mantel can eat up 15-20 square feet of usable floor area. Covering the firebox and repurposing the surround can add shelving, storage, or display space without major demo work.
Aesthetic shifts also play a role. Brick or tile treatments popular in the ’70s and ’80s don’t always mesh with modern or minimalist interiors. Covering outdated materials avoids the cost and mess of full removal while refreshing the room’s look.
Before starting any cover-up project, check local codes. Some jurisdictions require that chimney caps remain in place or that flues be permanently sealed by a licensed professional if the fireplace is decommissioned. If you’re closing off a gas line, always hire a plumber or HVAC tech, DIY gas work is illegal in most areas and dangerous.
Temporary Fireplace Cover Solutions
Temporary covers suit renters, seasonal decorators, or anyone testing ideas before committing to permanent changes. These solutions don’t require demo, permits, or structural alterations.
Decorative Screens and Panels
Freestanding folding screens are the fastest option. Three-panel models (typically 48–60 inches wide) fit most standard fireplace openings. Look for powder-coated steel or wrought iron if durability matters: lightweight canvas or fabric screens work for pure decoration but won’t block drafts. Position the screen an inch or two in front of the firebox opening to allow airflow behind it and prevent moisture buildup.
Magnetic vent covers designed for HVAC registers can be cut to size for smaller fireboxes. They’re thin, paintable, and remove without residue. For a polished look, prime and paint the cover to match the surrounding wall before installation.
Custom insert panels offer a tailored fit. Cut a piece of 1/2-inch or 5/8-inch MDF to the firebox opening dimensions (measure width and height at the narrowest points). Sand edges smooth, prime both sides with a stain-blocking primer (to prevent moisture bleed-through from the chimney), then paint or wallpaper the front face. Secure the panel with L-brackets screwed into the firebox sidewalls, or use removable adhesive strips if the surface is clean and flat. This approach is popular among DIYers using budget-friendly decor techniques to refresh dated spaces.
Draft blockers matter even with decorative covers. Chimneys pull air, and an open damper will continue to vent conditioned air. If the damper is accessible, close it. If it’s stuck or missing, stuff the flue throat with a chimney balloon or rigid foam insulation wrapped in a plastic bag (mark it clearly so it’s removed before any future fires). Never seal a gas appliance flue without professional verification that the gas line is capped and safe.
Permanent Fireplace Transformation Ideas
Permanent solutions involve structural changes, built-ins, or finishes that aren’t easily reversed. These projects add value and function but require more planning, skill, and sometimes permits.
Full wall infill is the cleanest transformation. Frame a 2×4 stud wall flush with the existing firebox opening, secure it to the surrounding masonry or drywall with concrete screws or construction adhesive, then hang 1/2-inch drywall over the framing. Tape, mud, and sand the seams, then prime and paint to match the room. This approach works well when the goal is a flat, uninterrupted wall. Before closing off the firebox completely, confirm the damper is shut and consider adding a note behind the drywall (or in the home’s maintenance log) that a chimney exists, future owners may want to restore it.
Tiled or stone overlays update dated brick without removing it. Clean the existing surface thoroughly (TSP solution works well for soot and residue), then apply a skim coat of mortar if the brick is rough or uneven. Once cured, install tile using thinset mortar. Large-format porcelain or natural stone tiles (12×24-inch or bigger) create a modern look with fewer grout lines. This method is common in renovation projects featured by resources like This Old House, where surface prep determines long-term adhesion.
Shiplap or wood cladding offers texture and warmth. Attach 1×6 or 1×8 pine boards horizontally over the firebox opening using a nail gun and 1 1/4-inch finish nails. Stagger seams and use a nickel or spacer to maintain consistent gaps between boards. Prime and paint, or apply a clear polyurethane for a natural finish. If the firebox will remain sealed, this is purely decorative: if there’s any chance of future use, consult local fire codes, combustible materials must maintain specific clearances from fireboxes (typically 6 inches minimum from the opening).
Built-In Shelving and Storage
Built-ins maximize the footprint. Frame the shelving unit with 2×2 or 2×4 lumber, sizing it to fit the firebox recess and extend to the ceiling if desired. Use 3/4-inch plywood for shelves (hardwood-veneered ply looks cleaner than softwood and takes paint or stain better). Secure the frame to wall studs with 3-inch wood screws, locate studs with a stud finder, or toggle bolts work for drywall-only anchoring if load is light.
Space shelves 10–14 inches apart for books, or adjust for larger items. Edge-band the plywood with iron-on veneer tape or 1×2 trim to hide raw edges. Paint or stain the unit, then caulk gaps between the built-in and wall with paintable latex caulk for a seamless look.
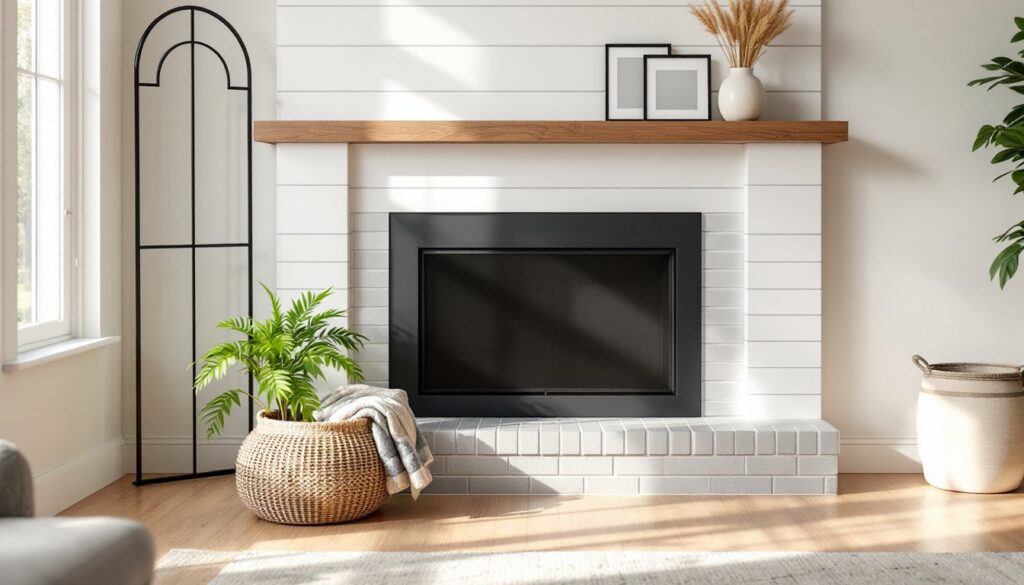
For a media center conversion, the firebox recess can house a TV, gaming consoles, or stereo components. Run electrical and low-voltage wiring through the wall before closing things up (hire an electrician if you’re not comfortable with NEC code for in-wall wiring). Ventilation is critical, electronics generate heat, so leave an air gap at the top or add battery-powered vent fans to prevent overheating.
DIY Fireplace Cover Projects
Hands-on projects let homeowners customize covers to match their style and budget. These ideas balance cost, skill level, and visual impact.
Fabric-wrapped panel: Cut 1/2-inch plywood or rigid foam insulation board to fit the firebox opening. Wrap the face and edges with fabric (canvas, linen, or outdoor fabric for durability), pulling it taut and stapling it to the back with a staple gun. Trim excess fabric and secure the panel with L-brackets or Velcro strips for easy removal. This works well for seasonal swaps.
Chalkboard or magnetic insert: Prime an MDF panel with stain-blocking primer, then apply two coats of chalkboard paint or magnetic primer (sand lightly between coats). Once cured, mount the panel in the firebox. Kids’ art, grocery lists, or seasonal messages turn the fireplace into a functional feature.
Reclaimed wood mosaic: Collect scrap lumber (pallet wood, fence pickets, or cutoffs from other projects) and cut pieces into uniform or varied lengths. Sand edges, then arrange and glue them to a plywood backer in a geometric or random pattern. Seal with polyurethane or leave raw for a rustic look. This project takes time but costs almost nothing if materials are salvaged.
Mirror insert: Mirrors reflect light and make small rooms feel larger. Have a 1/4-inch mirror cut to size at a glass shop (measure the firebox opening carefully, most shops charge for re-cuts). Attach the mirror with mirror adhesive or J-channels screwed into the firebox sidewalls. Clean the firebox interior thoroughly before installation: soot and debris will show through the reflection.
Safety reminder: Always wear gloves and safety glasses when cutting wood or handling glass. Use a dust mask when sanding MDF or plywood, the fine dust is a respiratory irritant.
Seasonal and Decorative Fireplace Covers
Seasonal covers keep unused fireplaces visually interesting year-round without permanent commitment. Swapping decor four times a year prevents the “dead zone” look.
Spring and summer: Fill the firebox with stacked birch logs (real or faux), a large potted fern, or a collection of pillar candles on a tray. Battery-operated LED candles avoid the fire hazard and wax drips. Another option: lean a large piece of framed botanical art or a vintage window frame against the back wall of the firebox for depth.
Fall and winter: If the fireplace isn’t operational, create the illusion of a fire with a string of fairy lights or a small electric fireplace insert (plug-in models start around $150 and fit standard fireboxes). Stack mini pumpkins, pinecones, or a bundle of dried wheat inside for a harvest vibe. For homeowners seeking inspiration on rotating seasonal decor affordably, this approach maximizes visual interest without new purchases each year.
Holiday displays: Fireplaces are natural focal points. Use the opening to showcase a nativity scene, menorah, or bundled evergreen branches. Garland and battery-powered light strands drape easily over mantels and tuck into the firebox edges. Just ensure nothing flammable sits near the flue if there’s any risk of downdrafts or if the chimney is uncapped.
Everyday styling: A decorative basket filled with throws or magazines, a stack of oversized art books, or a sculptural object (driftwood, ceramic vase, metal sculpture) keeps the space from looking neglected. Rotate items with the seasons or whenever the room feels stale.
Avoid piling items directly on the hearth if it’s raised, tripping hazards are real, especially in high-traffic rooms. Keep the firebox clean and dry: even covered, chimneys can admit moisture if the cap is damaged or missing.